Ok, after we prepared in Part I everything with hygen.io and created our first very simple generator to create a new Vue.js component with a dynamic name set up, we will start now into the real magic and what is possible together with hygen and Vue.
Plan
The plan is to create a Vue component in a more comfortable way as a long command which to call with many parameters. Here we will start using the “with-prompt” variant of hygen. There it is possible to ask the user questions about the new component and set the answers to variables.
Prompt variant
To set up a prompt variant of our generator we must build a new file in our _templates folder. With
hygen generator with-prompt vue-component
we create a new folder named with-prompt with two files hello.ejs.t and prompt.js in _templates/vue-component.

Ok, what happened here? The file hello.ejs.t sounds very familiar to us and yes, it is the same as in Part I when we created our first generator. But the second file prompt.js is new.
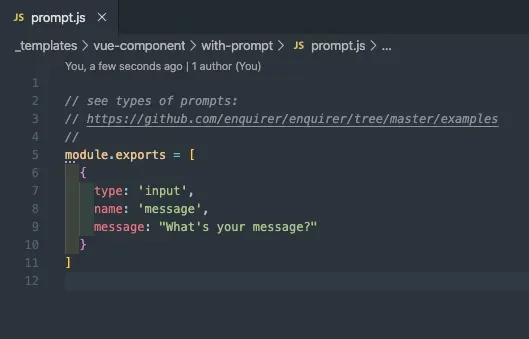
The best way to explain the code from the file is, we should call hygen with our new generator.
hygen vue-component with-prompt

Ok, nice. Hygen doesn’t create a new file direct. Hygen asked us “What’s your message” like in the file and we have the opportunity to write an answer directly into the console.
When we do this, what you think will happen?

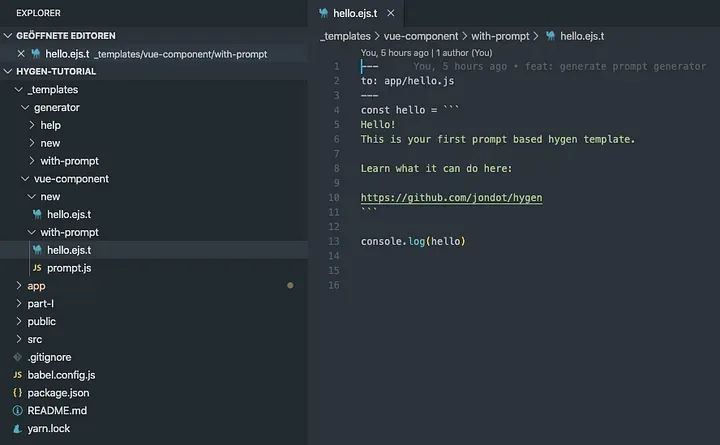
Correct! The same happened in Part I by the first call of our new generator. A file app/hello.js was created. When we have now a look at the familiar file hello.ejs.t in our new template, you will see that it is the same generic code that we found in our first generator.
Use what we have
Maybe you know how hygen works here. It looks in a template folder if there is a file prompt.js and runs it. When not hygen start to run the hello.ejs.t file.
Ok, let us try if we are right with our guess. We copy the file prompt.js into our first template folder _templates/generator/vue-components/new and call our first generator. To explain the prompt.js file a little bit more
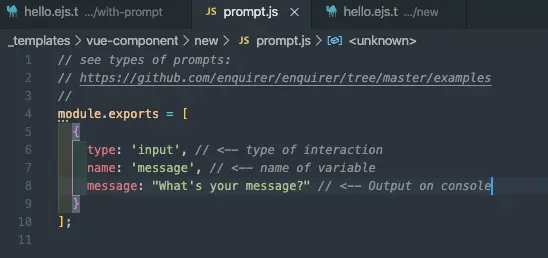
Do you know which variable we used in our Part I to generate the new component name? Yes, correct, we use the variable named name. To run our hello.ejs.t from Part I in the correct way, we will edit our prompt.js file at two points.
// see types of prompts:
// https://github.com/enquirer/enquirer/tree/master/examples
//
module.exports = [
{
type: "input", // <-- type of interaction
name: "name", // <-- name of variable
message: "What's the name of the new component?", // <-- Output on console
},
];
So that we have now a file which looks like this:
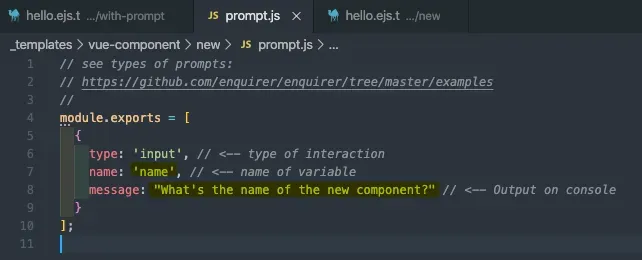
Now we call our first generator like in Part I.
hygen vue-component new
Our expectations are now high. Hopefully, we get now some interactions at the console, will be asked for a component name and hygen create a new component in src/components/[name].vue.

Great, we have our prompt!

Sweet! Now we have our old template running with an interactive prompt and don’t need now to call the generator with a parameter --name MyNewComponent at the end. Much more comfortable right now!
if-condition
This should not the end of how hygen can help us. Hygen supports also conditional rendering.
Ok, what we can do with this option? In my projects, I use more than one time different npm packages in my Vue components. For example, we can ask for it and can implement favorite packages direct in our generator.
A favorite npm package that is used very often is for example axios. Let us ask if the new Vue component use axios in our prompt.js.
// see types of prompts:
// https://github.com/enquirer/enquirer/tree/master/examples
//
module.exports = [
{
type: "input", // <-- type of interaction
name: "name", // <-- name of variable
message: "What's the name of the new component?", // <-- Output on console
},
{
type: "confirm",
name: "axios",
message: "Do you use axios in your component?",
},
];
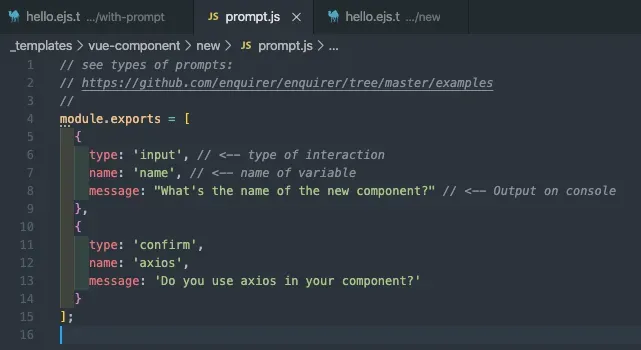
For a yes or no question we can use at hygen the type: 'confirm'. name is again the variable name and message is again only the output at the console.
Let us test if it works

Super! You can now decide if you want to use it the new component or not by press ‘y’ or ’N’. The default answer is set to false and by pressing ‘return’ you will set the axios variable to ‘false’.
Next, how we can implement this in our template?
...
<script>
<% if(axios){ -%>
import axios from 'axios'
<% } -%>
export default {
name: "<%= name %>",
props: {
msg: String
},
...
The import call for our module must be at the top of our script block in our template. With <% if(axios) -%> we start our condition and ask here if the variable axios is set and true. Now we implement the code which will import the axios module into our component with import axios from 'axios'. And after that, we close our condition with <% } -%>. Very easy for everyone who is familiar with a normal if-condition.
In the end, our template should look like this right now.
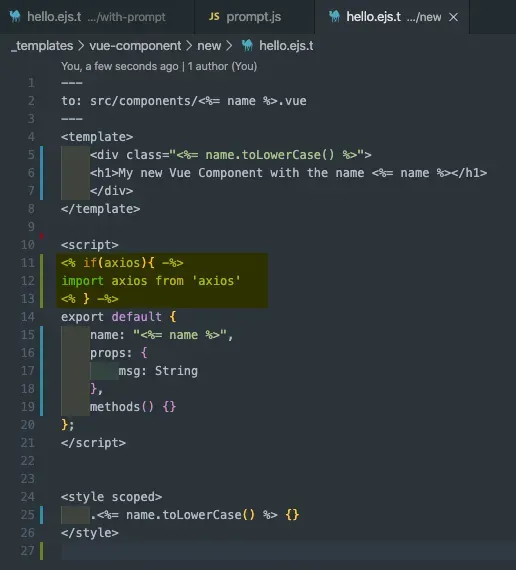
Ok, let us create a new component with our generator and look if it works as it should. Our expectation is now to get a second question after the name of the new component if we want to use axios. When we decide to use it, it should be set in our new component file at the top of the script block.

Ok, the generation of the new component works. Now have a look at the new file of the component.
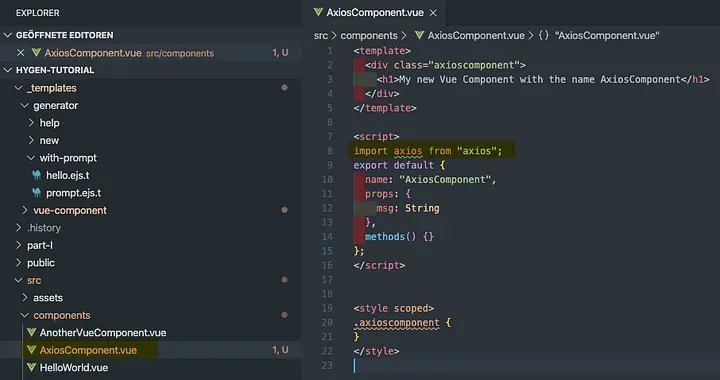
Awesome! It works fine. We create a new component with a new name and set up automatically an import for the axios module. From my linter, I get now the info that axios is imported but never used. I think we can fix this really fast by implementing an example fetch call in our template.
...
<script>
<% if(axios){ -%>
import axios from 'axios'
<% } -%>
export default {
name: "<%= name %>",
...
methods: {
<%_ if(axios){ -%>
async fetchData() {
try {
const response = await axios
.get('https://api.endpoint.com')
.then(function(response) {
console.log(response)
})
.catch(function(error) {
throw new Error(error)
})
return response
} catch (error) {
throw new Error(error)
}
}
<%_ } -%>
...
Here we use again the same if-condition to check if axios is set and true and when yes the example fetch call should be included in our new component file like the import of axios itself.
We call again our generator and see if it works

Ok, now we look if our new file looks like
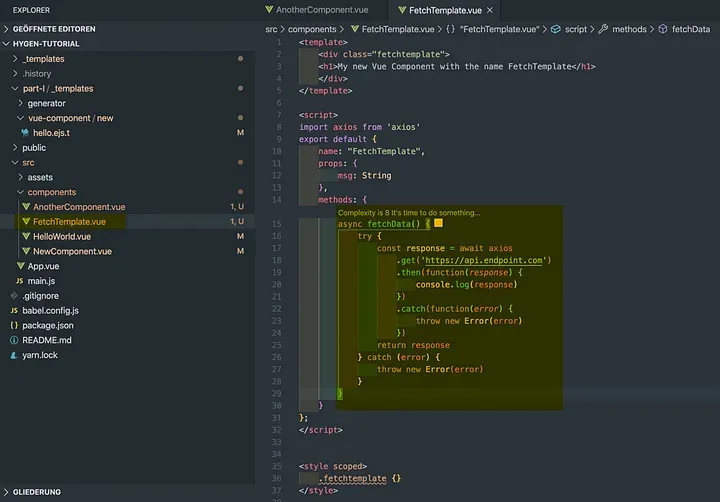
Great! It works!
Ok, today we expand our template from Part I to have a prompt interactive version and start working with a simple condition to import one of our favorite npm modules like axios. Of course, you can set up here more than one question and also other types of questions. Good documentation of what you can do, you can find here.
For today it is enough and next Tuesday I will dive in a little bit more complex dynamic where we start creating more than one file, using injects and lot more. I hope you enjoy the tutorial again and come back next Tuesday for Part III of this series.
All the best and you can find the code again here at GitHub in folder part-II.
You will find more in the other parts: